Home / Guides

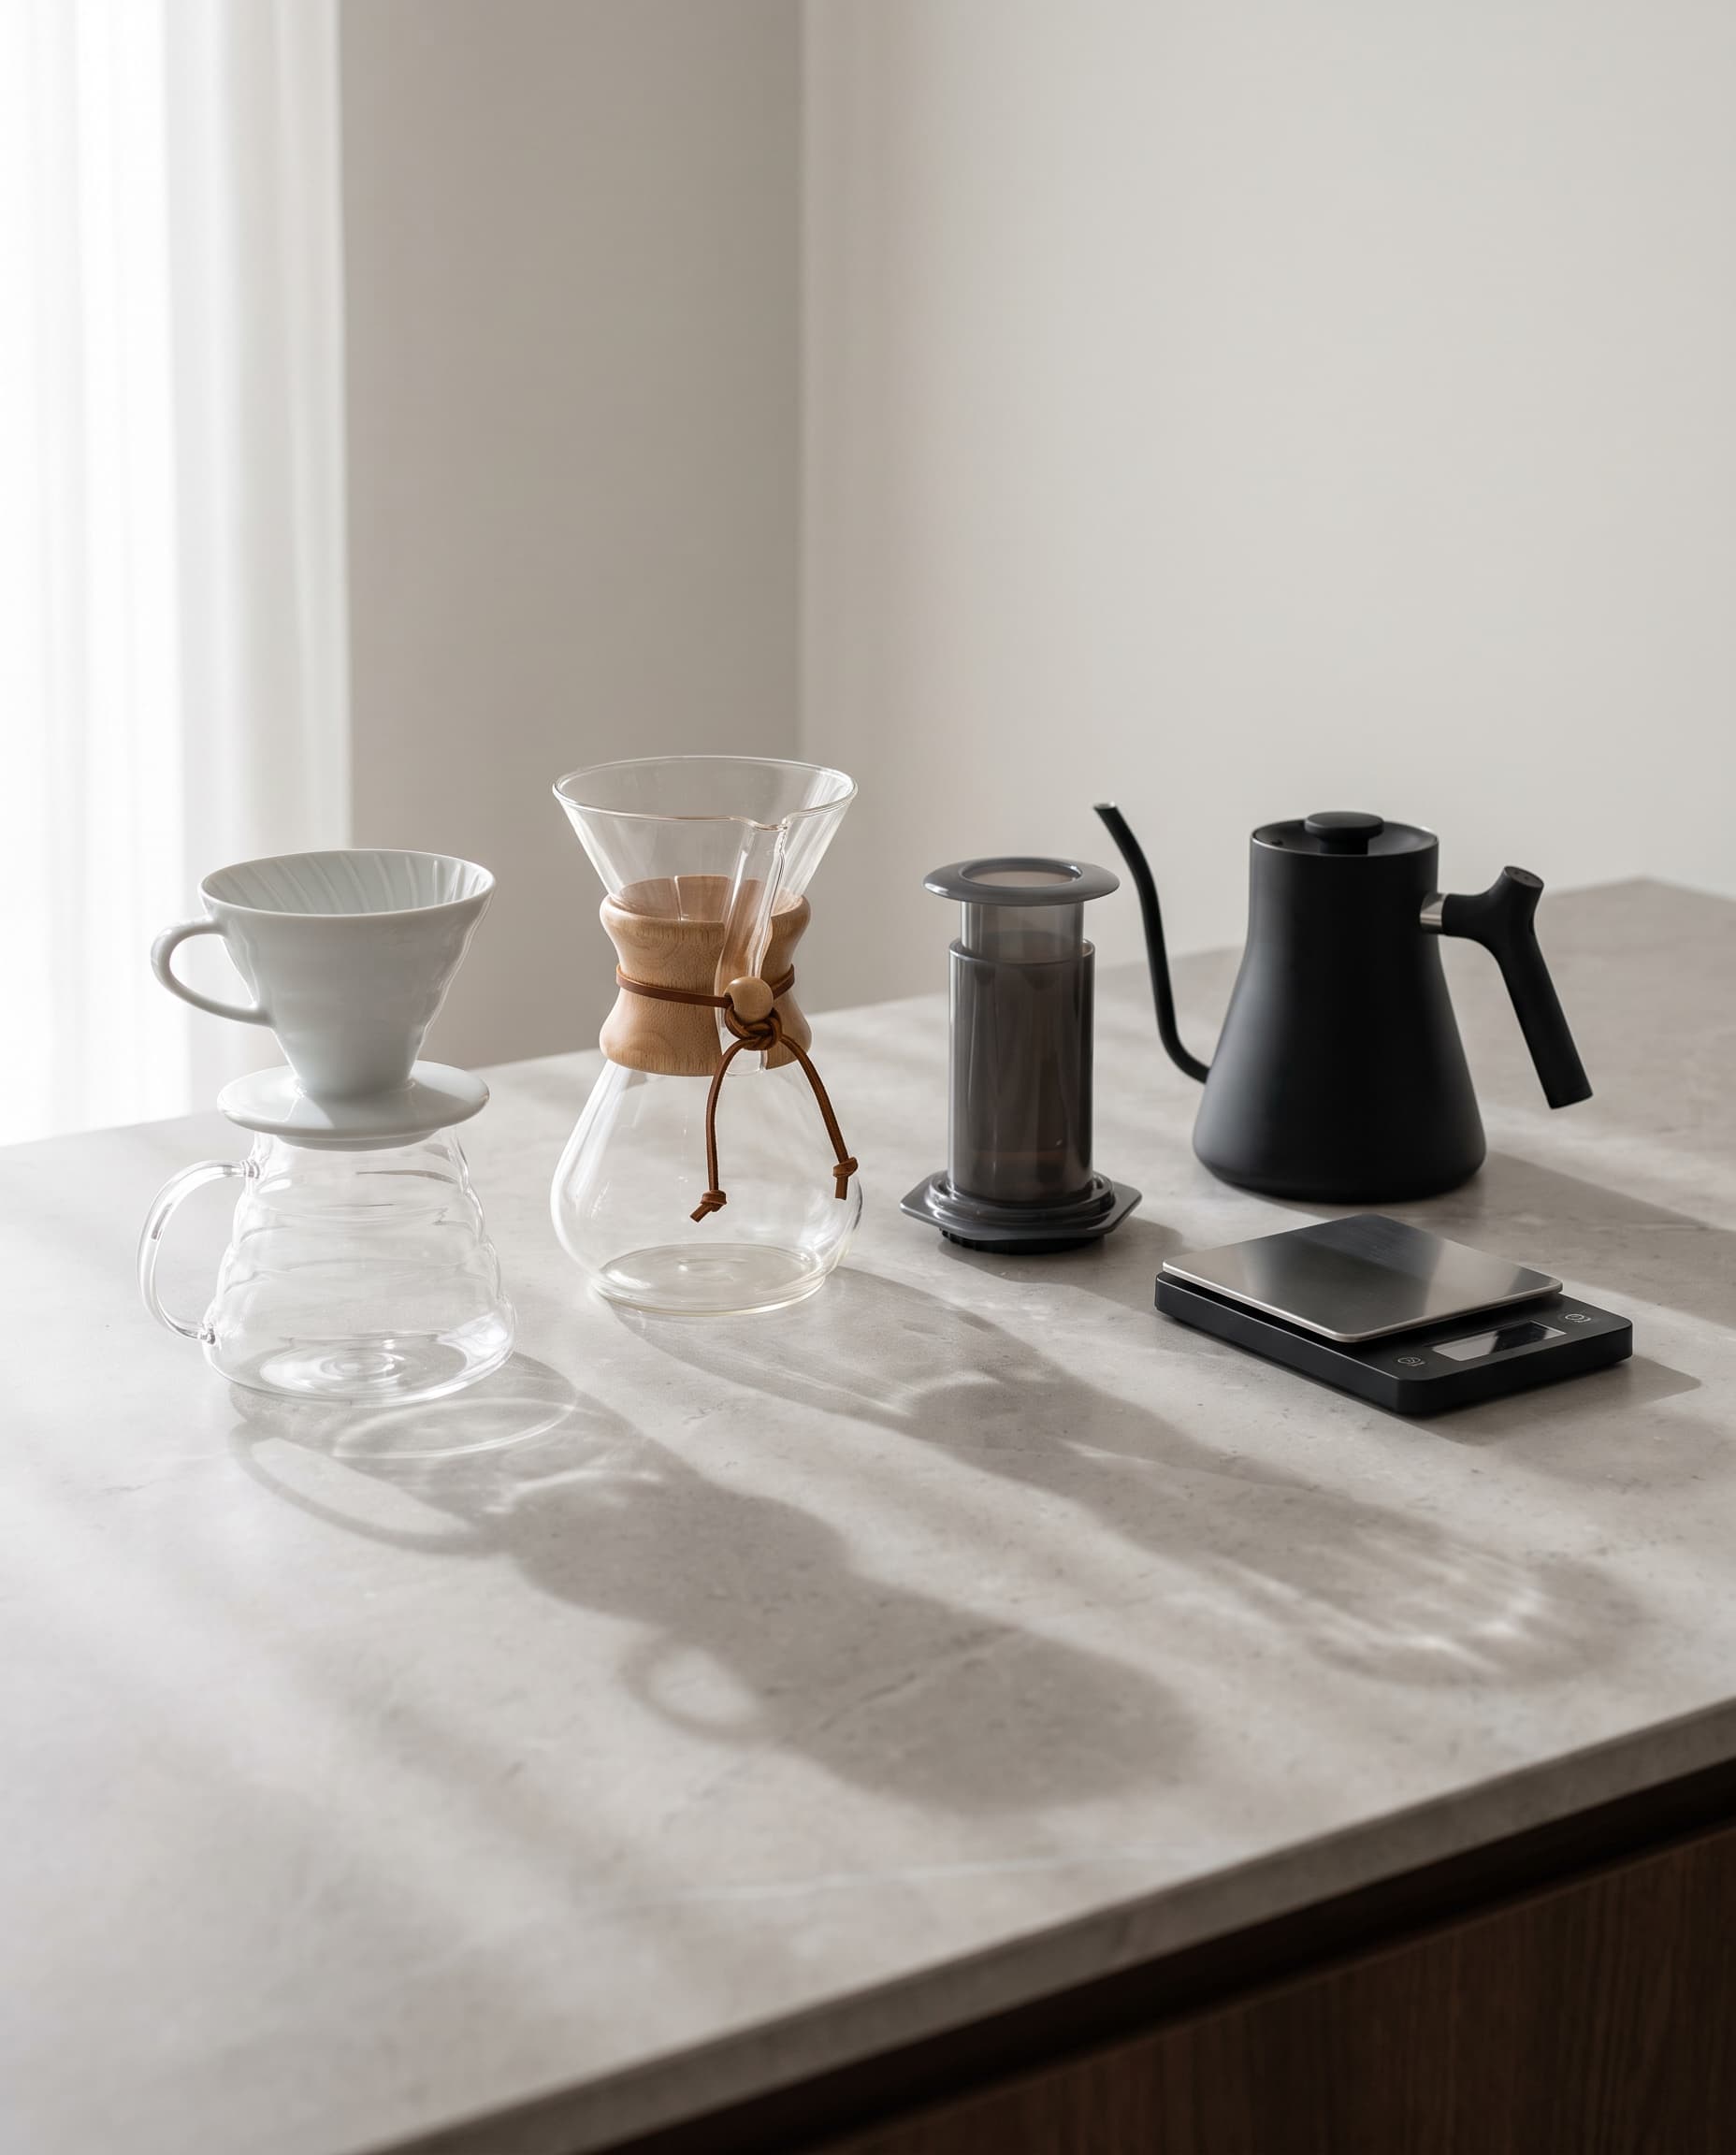
Brew specialty coffee at home

Choose a method, adjust the amount and follow the timer. It is that easy.

Coffee calculator

Work out the exact water for your method and brew with the step-by-step timer.

Method
15 g

Tip: use a scale. Measuring by eye is one of the most common causes of inconsistent cups.

Water240 ml
Ratio1:16
Total time3:00
GrindMedium-fine
Temperature92-96 °C
0:00

Press Start when you pour in the first water.

Which method is for you?

Three questions and we tell you where to start.

How many people are you brewing for?
What kind of cup do you like?
How much effort do you want to put in?

Answer the three questions to see your method.

Brewing methods

Six ways to make coffee, from the cleanest to the most intense. Each with its step-by-step recipe.

Clean, aromatic cup

V60

The most popular conical dripper. It brings out the best in light-roast coffees, with notes of fruit and flowers.

Ratio
1:16
Recipe
15 g of coffee, 240 ml of water
Grind
Medium-fine
Time
2:30–3:30
Water
92–96 °C
Body
2 of 5
Cup clarity
5 of 5
Difficulty
4 of 5
  1. Place the filter, rinse it with hot water and discard that water.
  2. Add 15 g of medium-fine ground coffee and level the bed.
  3. Pour 30–45 ml of water to wet all the coffee and wait 30–45 seconds.
  4. Pour in a slow spiral up to 240 ml, without pouring water directly onto the paper.
  5. Gently swirl the dripper to level the bed and let it finish between 2:30 and 3:30.

For sharing

Chemex

Its thick filter holds back more oils, so the cup comes out very clean. It makes several cups at once.

Ratio
1:15
Recipe
30 g of coffee, 450 ml of water
Grind
Medium-coarse
Time
3:30–4:30
Water
92–96 °C
Body
2 of 5
Cup clarity
5 of 5
Difficulty
3 of 5
  1. Place the filter with the three-layer side towards the spout and rinse it.
  2. Add 30 g of medium-coarse ground coffee.
  3. Pour 60 ml of water and wait 45 seconds.
  4. Keep pouring in batches up to 450 ml.
  5. Remove the filter at around 4 minutes and stir the jug before serving.

Quick and portable

AeroPress

Immersion and gentle pressure in an unbreakable cylinder. It forgives mistakes and leaves plenty of room to experiment.

Ratio
1:14
Recipe
15 g of coffee, 210 ml of water
Grind
Medium
Time
1:30–2:30
Water
85–92 °C
Body
3 of 5
Cup clarity
4 of 5
Difficulty
2 of 5
  1. Put the paper filter in the cap and rinse it.
  2. Add 15 g of medium ground coffee to the chamber.
  3. Pour 210 ml of water and stir for 10 seconds.
  4. Insert the plunger without pressing and wait until the 1:30 mark.
  5. Press down slowly for about 30 seconds and stop when you hear the hiss.

Body and texture

French press

The coffee steeps in the water and a metal filter lets the oils through. A dense, round cup, with no complications.

Ratio
1:15
Recipe
30 g of coffee, 450 ml of water
Grind
Coarse
Time
4:00
Water
93–96 °C
Body
5 of 5
Cup clarity
2 of 5
Difficulty
1 of 5
  1. Preheat the jug with hot water and discard it.
  2. Add 30 g of coarse ground coffee.
  3. Pour in 450 ml of water, stir and put the lid on without pressing the plunger down.
  4. Wait 4 minutes.
  5. Skim the foam off the top with a spoon, press the plunger down slowly and serve it all.

Concentrated and intense

Espresso

Water under pressure through very fine coffee. It is the most demanding method: it needs a machine and a precise grinder.

Ratio
1:2
Recipe
18 g of coffee, about 36 g in the cup
Grind
Fine
Time
25–32 s
Water
90–94 °C
Body
5 of 5
Cup clarity
3 of 5
Difficulty
5 of 5
  1. Flush the group head and dry the portafilter.
  2. Add 18 g of fine ground coffee.
  3. Distribute the coffee and tamp it level.
  4. Extract about 36 g into the cup, in 25–32 seconds.
  5. If it comes out too fast, grind finer. If it takes longer, grind coarser.

The pot you already have at home

Moka pot

The moka pot found in almost every kitchen. With specialty coffee and two tricks, it changes completely.

Ratio
1:7 approx.
Recipe
Full basket, not pressed
Grind
Medium-fine
Time
Until it bubbles
Water
Medium-low heat
Body
4 of 5
Cup clarity
2 of 5
Difficulty
2 of 5
  1. Fill the base with already hot water, just below the valve.
  2. Fill the basket with medium-fine ground coffee, without pressing, and level it.
  3. Screw it together using a cloth, because the base is hot, and put it on medium-low heat with the lid open.
  4. Take it off the heat as soon as the coffee starts to bubble.
  5. Cool the base under the tap to stop the extraction and stir before serving.

The moka pot does not need a scale: fill the basket to the top, without pressing.

Full guide: how to make coffee in a moka pot →

Grind matters most

The finer the grind, the faster the flavour comes out. That is why each method needs its own setting. Move the slider to see it.

Medium-fine

Like fine sand. V60 and moka pot.

How does your cup taste?

Choose what you notice and we tell you what to adjust. One change at a time.

Start with how it tastes

Press one of the options. The dot on the map shows where your cup is and the centre is balance.

Water is part of the recipe too

If the water tastes bad, so does the coffee. Pay attention to two things: temperature and minerals.

Temperature

Between 90 and 96 °C for almost every method. Without a thermometer: bring the water to the boil and wait about 30 seconds.

Minerals

Look at the "dry residue" on the label of bottled water. Test how yours does:

Type the number from the label.

Reference: the Specialty Coffee Association recommends about 150 mg/L, within a range of 75 to 250.

How to read a bag of coffee

Everything you need to know is on the label. Tap each number.

Colombia, Huila

Finca La Esperanza

Caturra variety

Washed process

1,750 m

Roasted on 2 Oct

Panela, orange, cocoa

  1. Origin and region

    The country and area where it was grown. The more specific, the better: a region or a farm tells you much more than the country alone.

  2. Producer or farm

    Who grew it. If the name is shown, there is traceability: you know where each sack comes from.

  3. Variety

    The type of coffee plant, such as Bourbon, Caturra or Geisha. It affects the flavour, just as the grape does in wine.

  4. Process

    How the bean was separated from the fruit. Washed usually gives cleaner cups; natural, fruitier and sweeter ones.

  5. Altitude

    At higher altitude, the bean ripens more slowly and usually has more acidity and complexity.

  6. Roast date

    The most useful detail on the bag. An expiry date with no roast date is a bad sign.

  7. Tasting notes

    Flavours the coffee brings to mind, such as red berries or chocolate. No flavourings are added: they come from the bean itself.

Store it well

The most common questions about how to store coffee. Tap each question to see the answer.

Your equipment, step by step

You do not need to buy everything. Start on the left and move forward when you want more.

1

To get started

The minimum for a cup that already tastes like specialty coffee.

  • Kitchen scaleBetter if it weighs in tenths of a gram.
  • A simple methodA dripper, an AeroPress or a French press.
  • Freshly roasted whole-bean coffeeWith the roast date on the bag.

2

The big step up

What improves the cup the most for every euro.

  • Burr grinderIt grinds evenly. It is the best investment.
  • Gooseneck kettleIt controls the stream as you pour.

3

Barista level

For those who want to repeat the perfect cup every day.

  • Temperature controlA kettle with temperature control, or a thermometer.
  • Filtered waterA filter jug is enough.
  • Espresso machineAlways with a grinder to match.

Three rules that change the cup

1

Grind just before

Ground coffee loses aroma within minutes. A burr grinder is the best investment.

2

Weigh, do not measure by eye

A scale makes every cup come out the same. It is the cheapest and most effective change.

3

Change one thing at a time

If you adjust grind and dose at the same time, you will not know what worked.

Would you rather learn it with a barista?

Hands-on training in V60, Chemex, AeroPress and espresso for individuals, baristas and cafés.

See the brewing methods training